Professional Prep for the Main Line: The First Step Toward the Best Interior Paint Job

No matter where you live, there are going to be a lot of painters offering their painting services in your neighborhood – and Pennsylvania’s Main Line is no exception. There’s also a fairly common stereotype that painters sometimes don’t take the time to do things right, and it’s all too common to find a home where the painted surfaces are peeling, aesthetically displeasing, or otherwise shoddily done. Good preparation is vital to a good-looking final coat, and Nolan’s team of painters takes the time to do our work correctly, and do the best interior painting preparation – every time.

Phase One: Staging
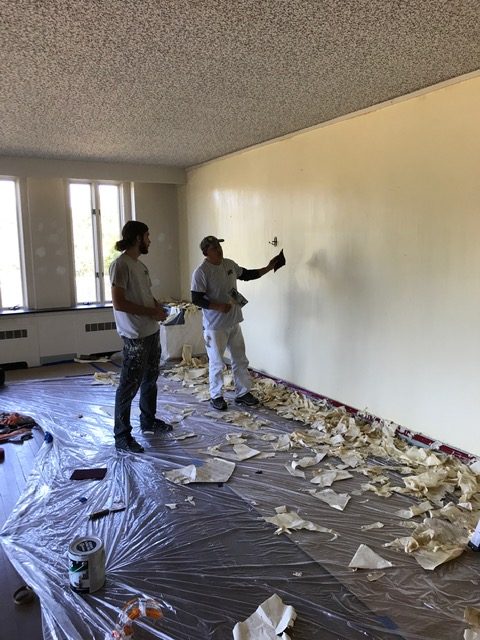
Staging is where we re-organize the room to get everything in place and ready for us to really start to prep the walls. First, we’ll move large furniture to the center of the room and wrap it in heavy-duty plastic. We tape the plastic-wrapped furniture at the bottom to keep dust out. Then, we cover all the carpeting in heavy-duty canvas. We use builder’s grade paper to protect hardwoods for its slip resistant properties. We tape over the seams of the paper, making a wall-to-wall shield to keep your hardwood floors safe throughout the renovation.
Once the floors are covered, we’ll get started on the walls and ceilings. We take off all of the outlet and switch plate covers. Next, we mask off the ventilation system to keep dust from migrating around your house during prep and renovation. If there are fixtures hanging from the ceiling like lights or ceiling fans, we wrap those as well. Once that’s done, the real wall preparation starts.
Phase Two: Wall Preparation
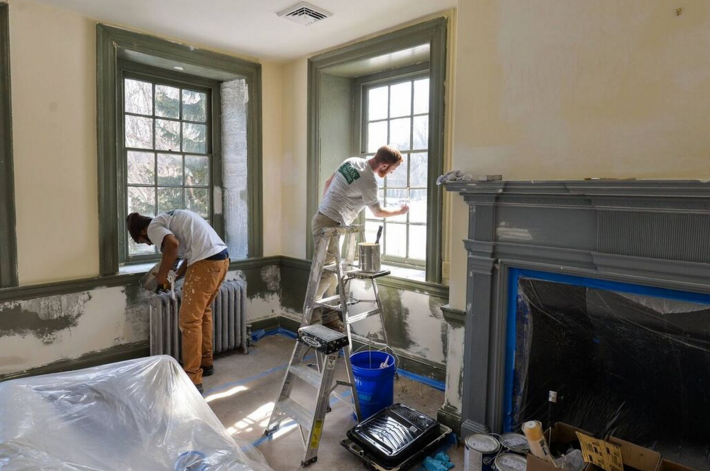
The best interior paint preparation entails preparing the walls correctly. That means checking the surface top-to-bottom and doing everything, from repairing cracked plaster and drywall to sanding trim. We’ll sand down all the surfaces lightly – by hand. Sanding by hand creates a smoother surface, and allows a better bond to form between the wall and the paint. We also use a tool called a pole sander. You can put different grits and grades of sandpaper on a pole sander and run the tool lightly over the wall to remove different bits of matter. Sometimes you may find that dust from a roller cover, or small bits of debris from a previous job have settled on the walls, so the pole sander is an effective tool for getting the surface completely clean before we paint.
Then we repair cracks and holes in the surface. Sometimes we find old anchors or weird accidents like doorknobs that ended up in a wall, but most commonly we see “nail pops” in the drywall. Nail pops occur as the substrate expands and contracts throughout the years as temperatures fluctuate, and finally the nail works its way out of the wood and up through the surface of the drywall. We patch and feather-sand the surface, then prime those areas to seal the wall and make sure it’s completely ready for a new coat of paint.
The final bit of preparation is to re-caulk all the joints in the room. Anywhere you have baseboards, window trim, crown moldings, or other ornamental woodwork, we re-caulk the joint to ensure a seamless final finish.
The Value of Good Preparation
When you prepare your room right, everything turns out better. Your floors stay nice, the paint will stick better to the walls, and you avoid all the flaky paint and other problems that bad prep-work will cause down the road. Nolan has been painting homes across the Main Line since 1979, so we know what works, and we know exactly what goes into getting a room ready for a quality renovation. When you need a trustworthy painting company that’s not going to cut corners, trust Nolan. Contact us today for a consultation!

