Simple Painting Solutions for Kitchen Remodeling on a Budget
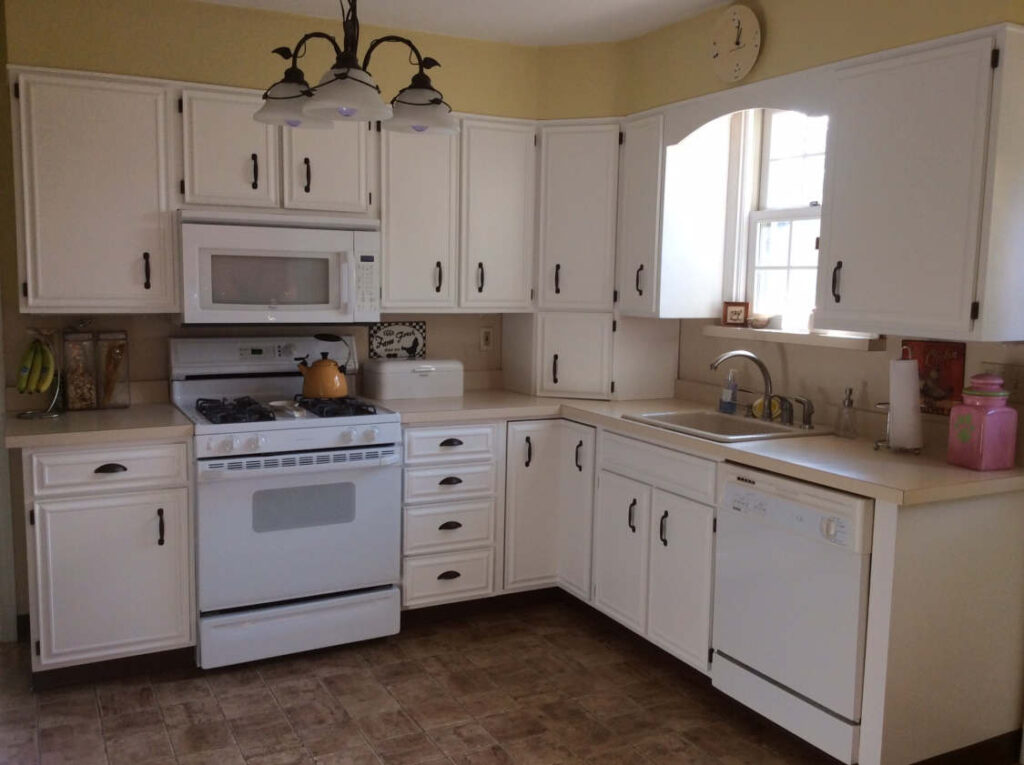
Kitchens are the quintessential gathering place where families talk; friends rejoice in celebration and new bonds are formed over exquisite meals. There is no doubt that the kitchen is a place that many call their favorite spot in a home. However, part of the joy of a functioning kitchen is making it suit your personality. Nolan Painting can liven up your kitchen remodeling project with a cabinet makeover that will wow guests and put you in the center of a room that exudes comfort. Let’s get started!
When considering cabinet painting, it may be wise to seek the help of a professional painting company. The intricate process of cabinet painting is delicate, as you’ll see as the process unfolds in our post.
Preparation is key of any job
Preparing your kitchen for paint is essential to a complete and finished look. Our painting crew will start with drawing a layout of your kitchen that will ensure that everything goes back to its rightful place after the paint has dried. After the layout has been drawn, all hardware must be removed from the cabinetry. Doors are marked to match the layout, and all hardware will be stored in bags, so no hinges or screws are misplaced.
After the doors and hardware have been removed, the kitchen is covered with builder paper to avoid paint from reaching a surface other than the cabinets. You can anticipate that most of your kitchen will be covered in paper and be non-functional during this part of the process. Plastic is then placed over the openings of the cabinets to protect the contents inside. All wall and surfaces not being painted will be carefully covered.
Preparing the cabinets for paint
The surface of your cabinets likely has a stain or paint covering the wood. Each cabinet and door will be sanded to remove old coloring and expose the natural wood. Nolan Painting now uses Festool Rotex 90 on all jobs. This tool incorporates a HEPA sander and vacuum in one, allowing our crew to quickly sand your cabinets while virtually no mess is left behind. Using 180 grid sandpaper, and tack cloth on all surfaces, your natural wood will be exposed in no time.
It’s time to transform your kitchen
The real fun happens when the first coat of paint is applied. Before this happens though, we’ll use our fine pro finish sprayer to apply a primer coat which will dry for 2-3 hours. After the primer is dry, and using the same sprayer, the first of two coats of satin cabinet finish is applied to the wood. Each coat will need 4-6 hours of drying time in between applications.
Doors are treated off-site at our facility
Once the doors have been sanded and prepared for paint, our crew will ensure that the spray booth is dust-free, all filters are clean, and the heating lamps and exhaust fans are on.
Each door is laid face down, and a fine spray of primer applied. After dry, the front of the door will then be primed. Additional sanding may be needed before the final finish is applied. Once the doors are ready for the finish, each side will be sprayed a minimum of two times with 2-3 hours of drying time in between.
In this video, our crew member Ali sprays the primer coat on the back side of the cabinet doors.
After a sufficient amount of drying time, typically 48 hours, the cabinets are now ready to be reintroduced into your home. Replacing the doors is a simple process thanks the trusty blueprint that was mapped out before the cabinets were removed. Depending on the size of your kitchen your cabinets should be replaced in just one afternoon.
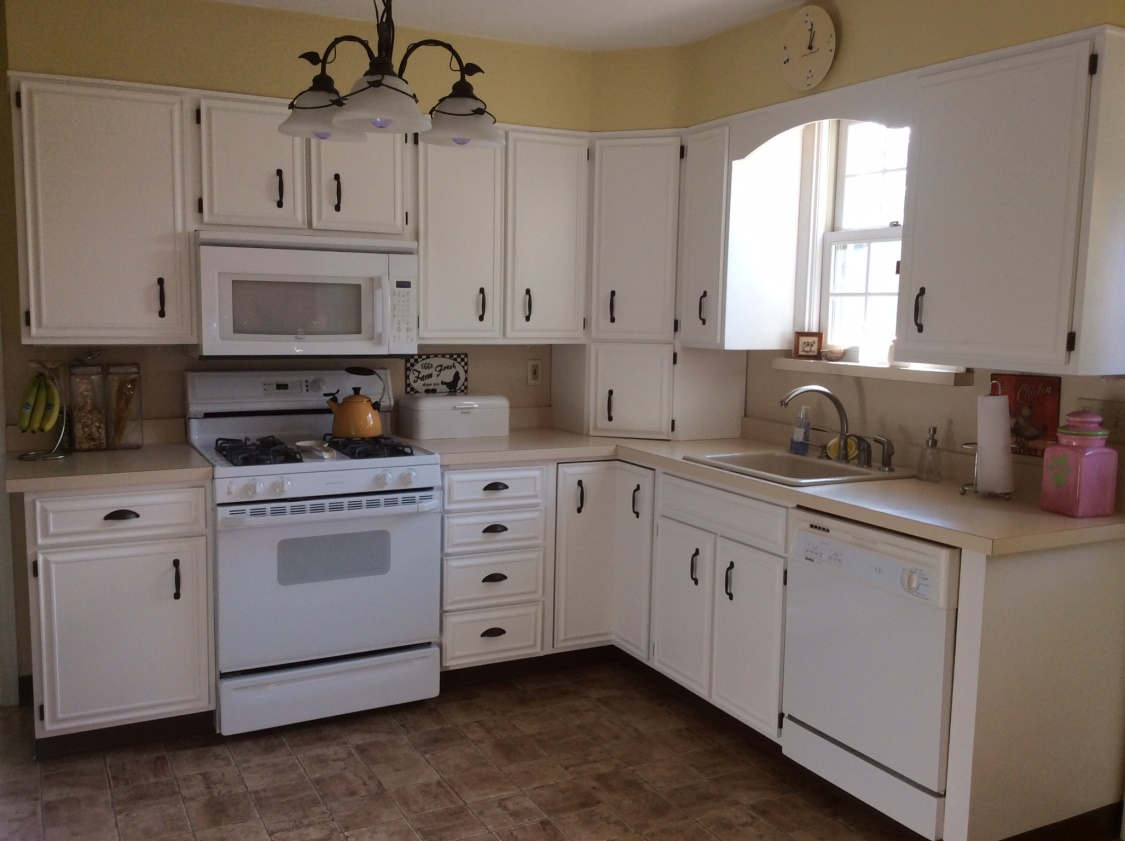
And…the results are astonishing!
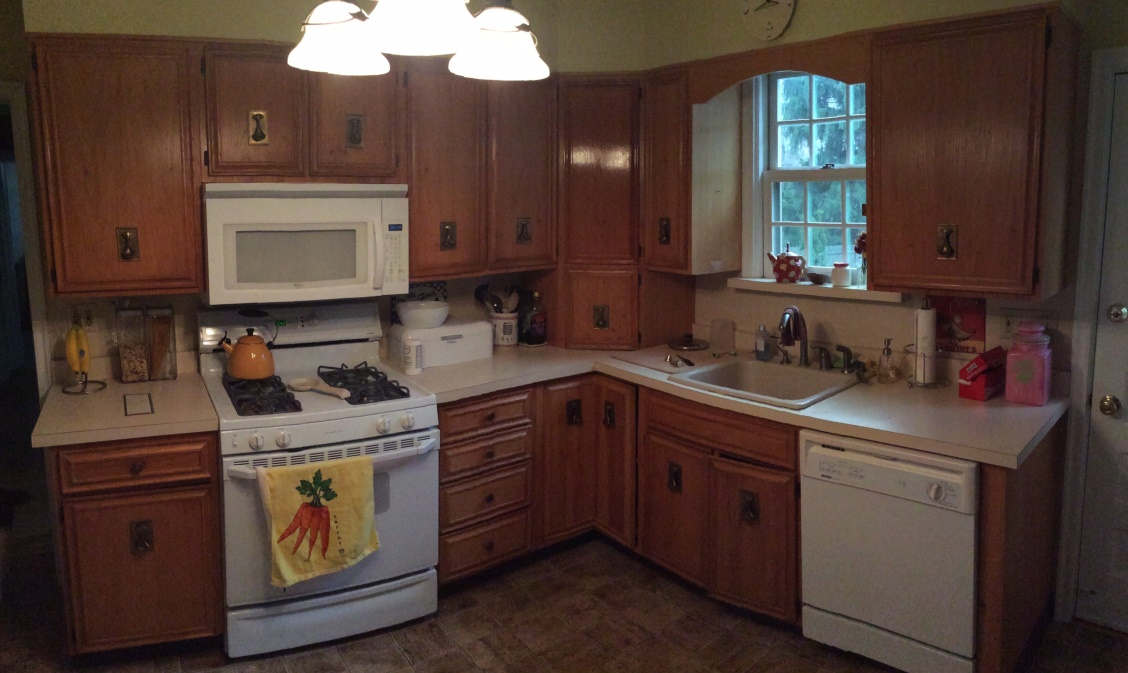
Before:
During:
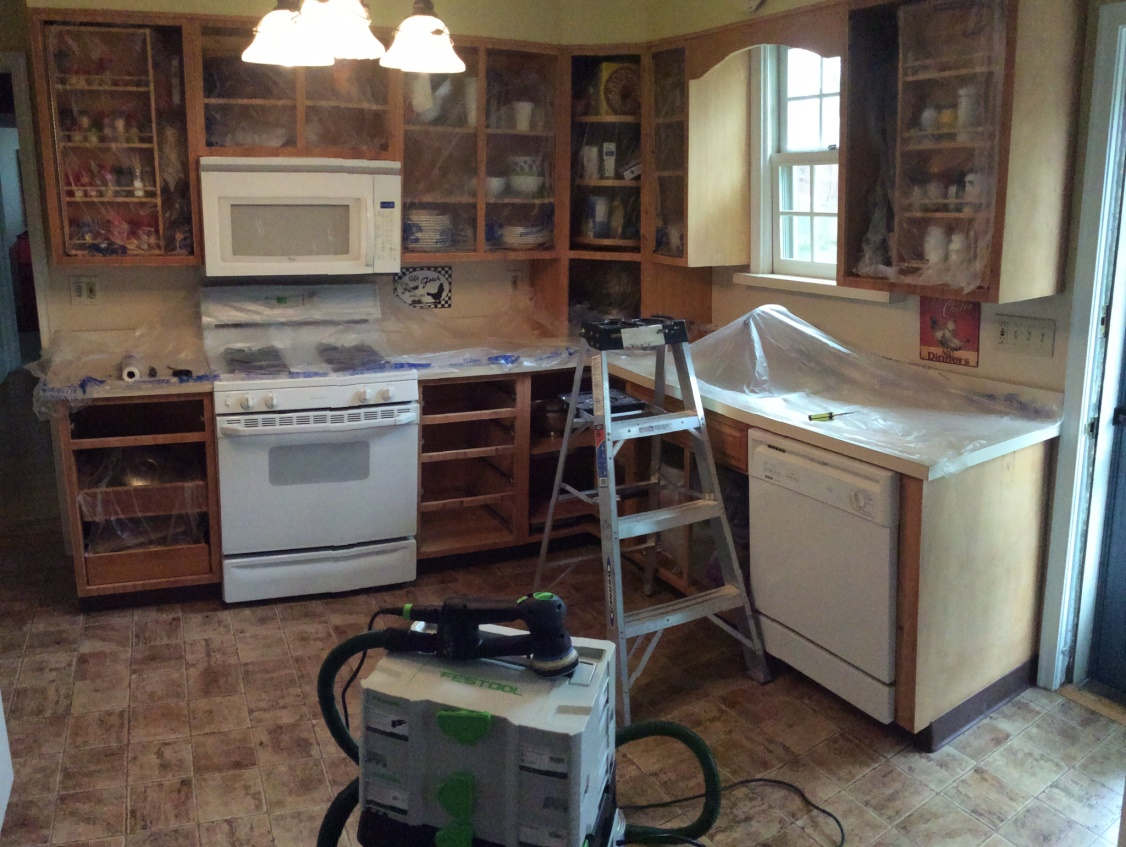
Cabinet base complete:
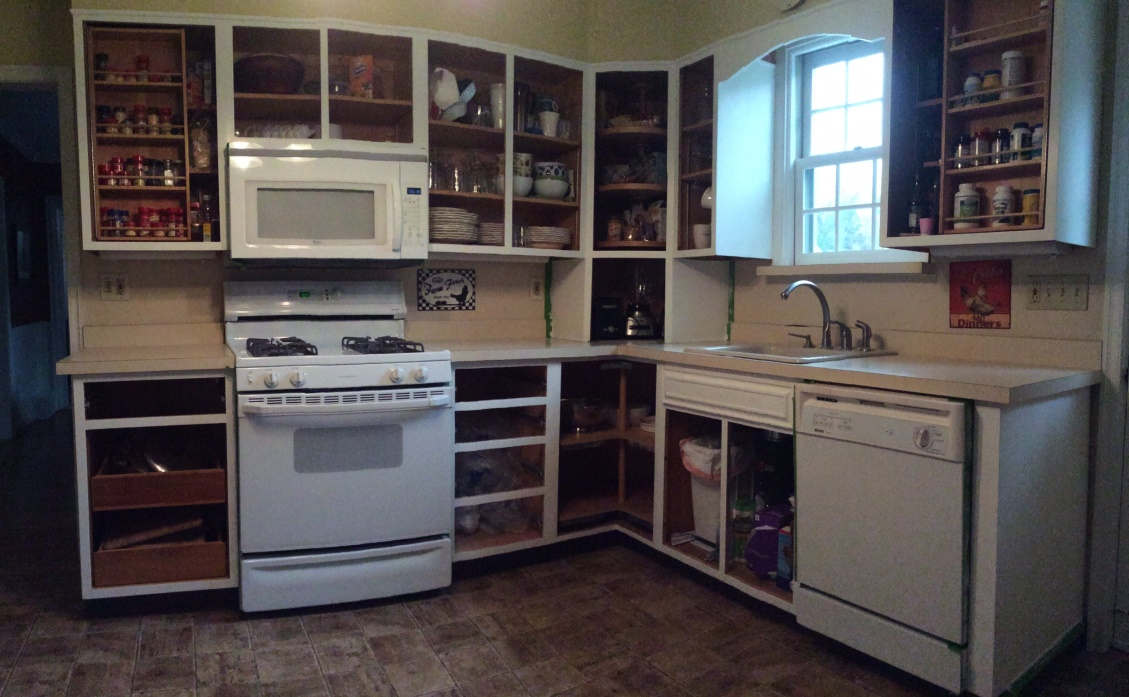
Finished result:
